
What a great workshop! Transforming Transfer March 27th.
 |
| Some great appliques shapes cut with a soldering iron. |
Well that was fun. Workshop 2 - Transforming Transfer went well. I am getting used to the live Zoom format now. I am by no means an expert, but I am dithering less.
We had students from the U.K, Ireland, Scotland, France and an early start in Georgia, USA. Whilst teaching on Zoom is not ideal, nothing can replace being in the same room as your students, it is pretty good.
 | ||||
| The studio looks relatively tidy behind me - you should see it in front of the table - not quite so tidy!! | |
The group were asked to mix their disperse dyes and paint up their papers before the workshop. This meant after the introductions and a quick demonstration from me, we could get started. Firstly the group got to grips with ironing their painted papers onto their synthetic fabric. It can take time for the heat to transfer the dye onto the fabric. A good hot iron is necessary. At least 2.000 watts. Of course, if you have a heat press, then you will have no problem. But not many people have a heat press. Once the colour is transferred to the fabric it has created a chemical bond and light fast and washable.
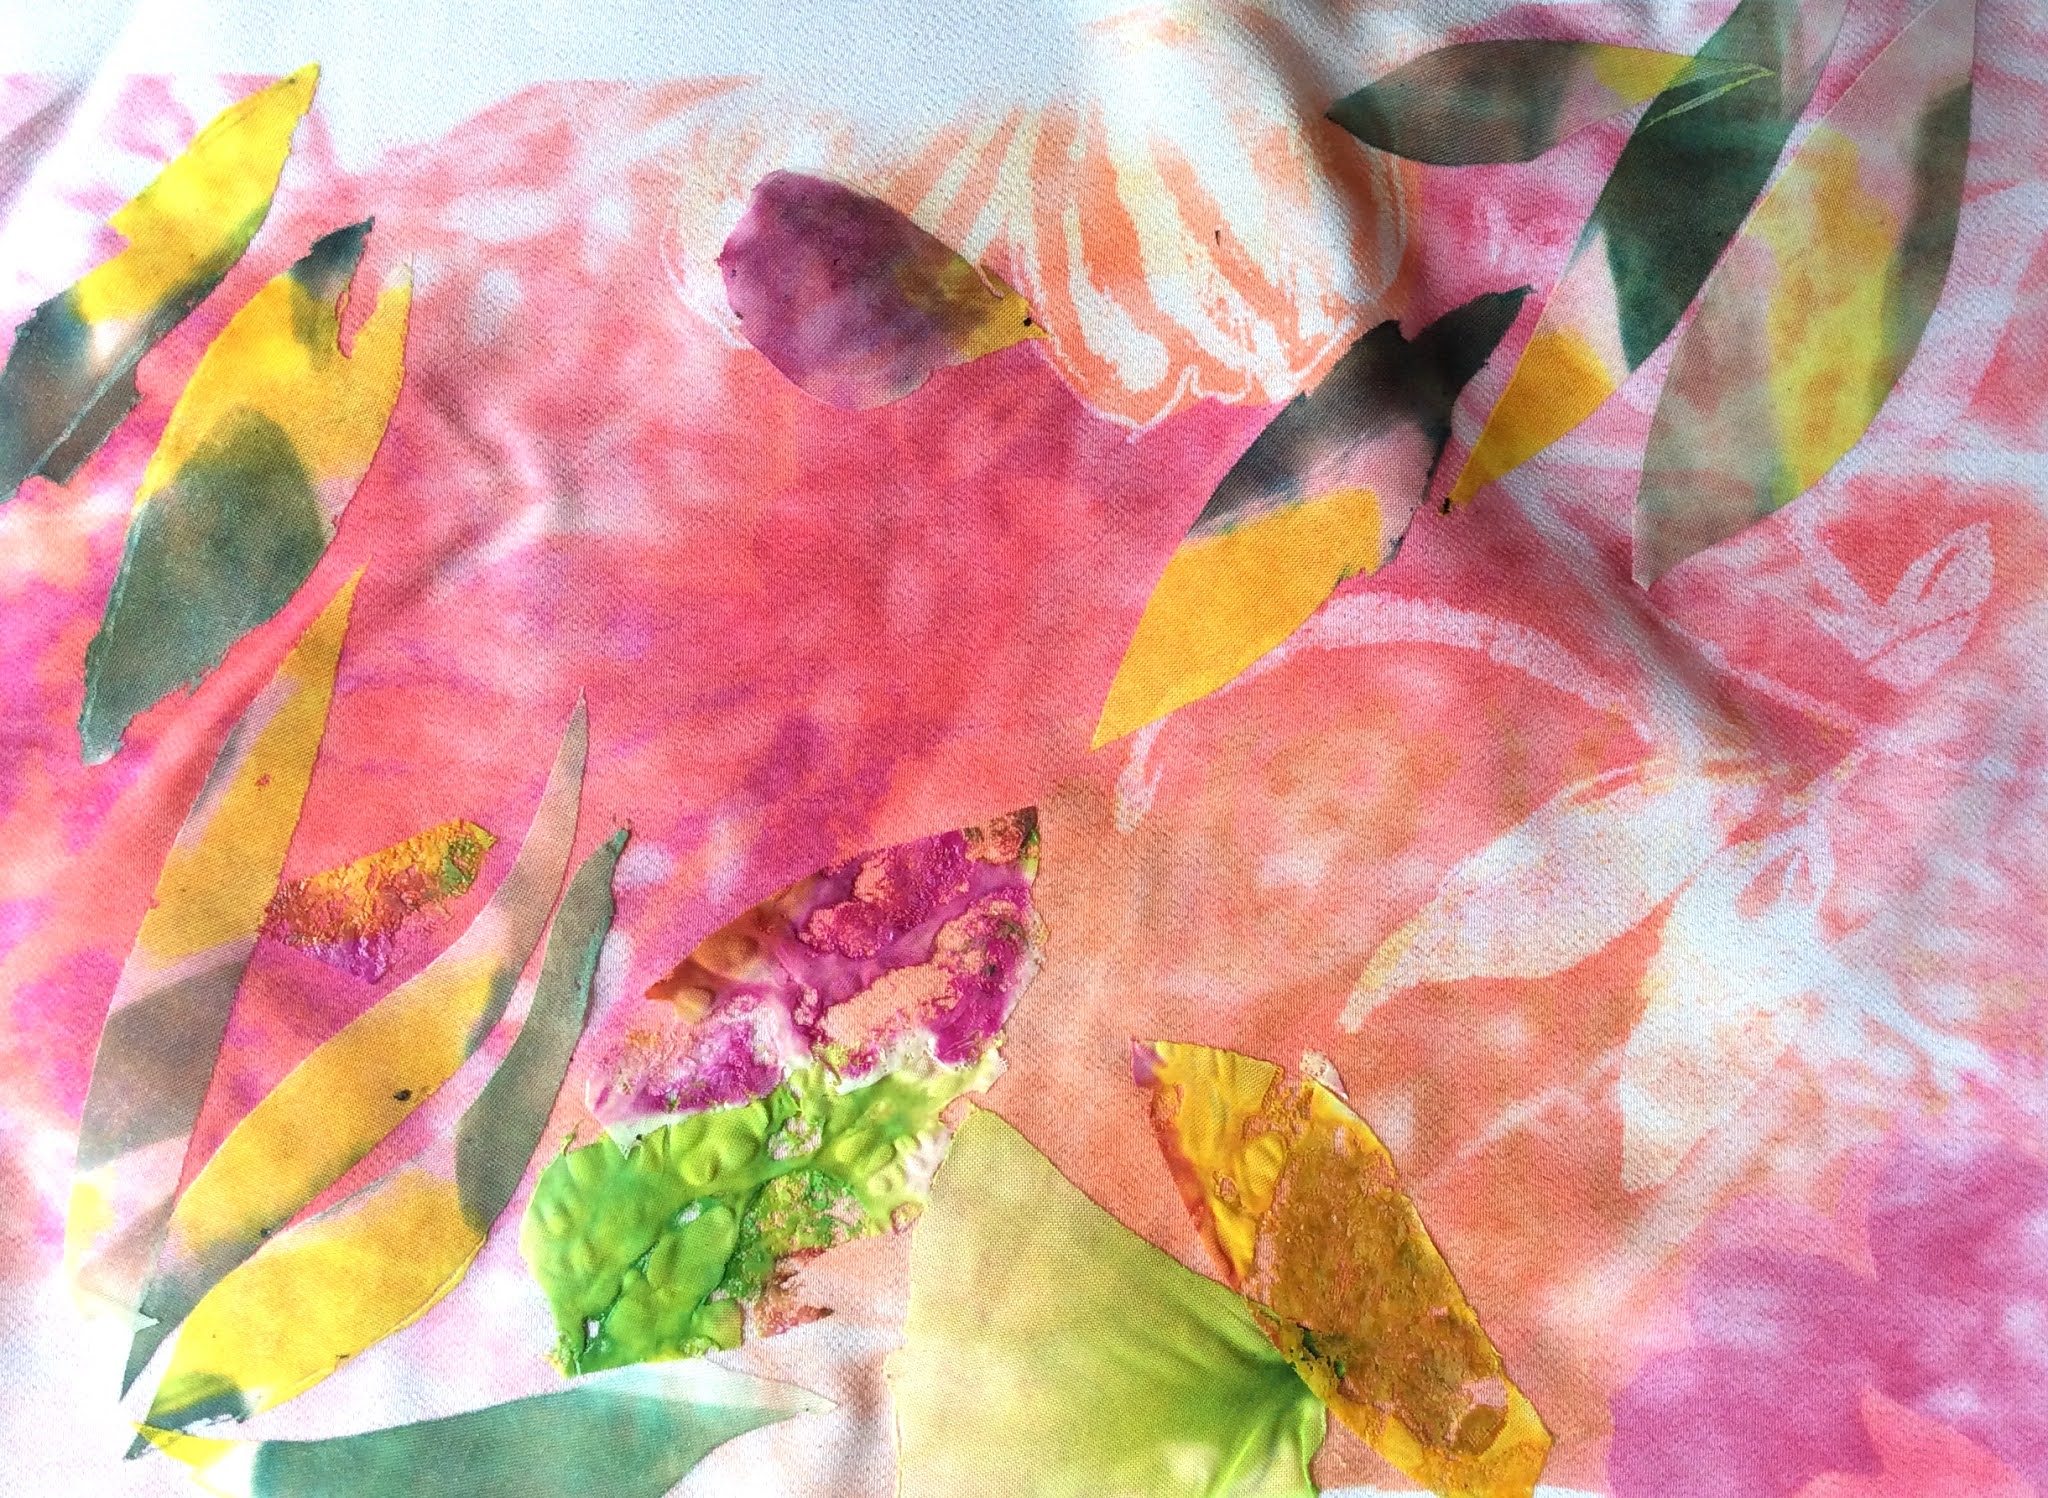
It is usual to get 2 or 3 prints from 1 piece of painted paper. One of the many great things about disperse dyes/transfer paints is that they are translucent. They look fabulous when you layer them up and overlap them.
Here are a few of the first prints onto synthetic fabric.


 |
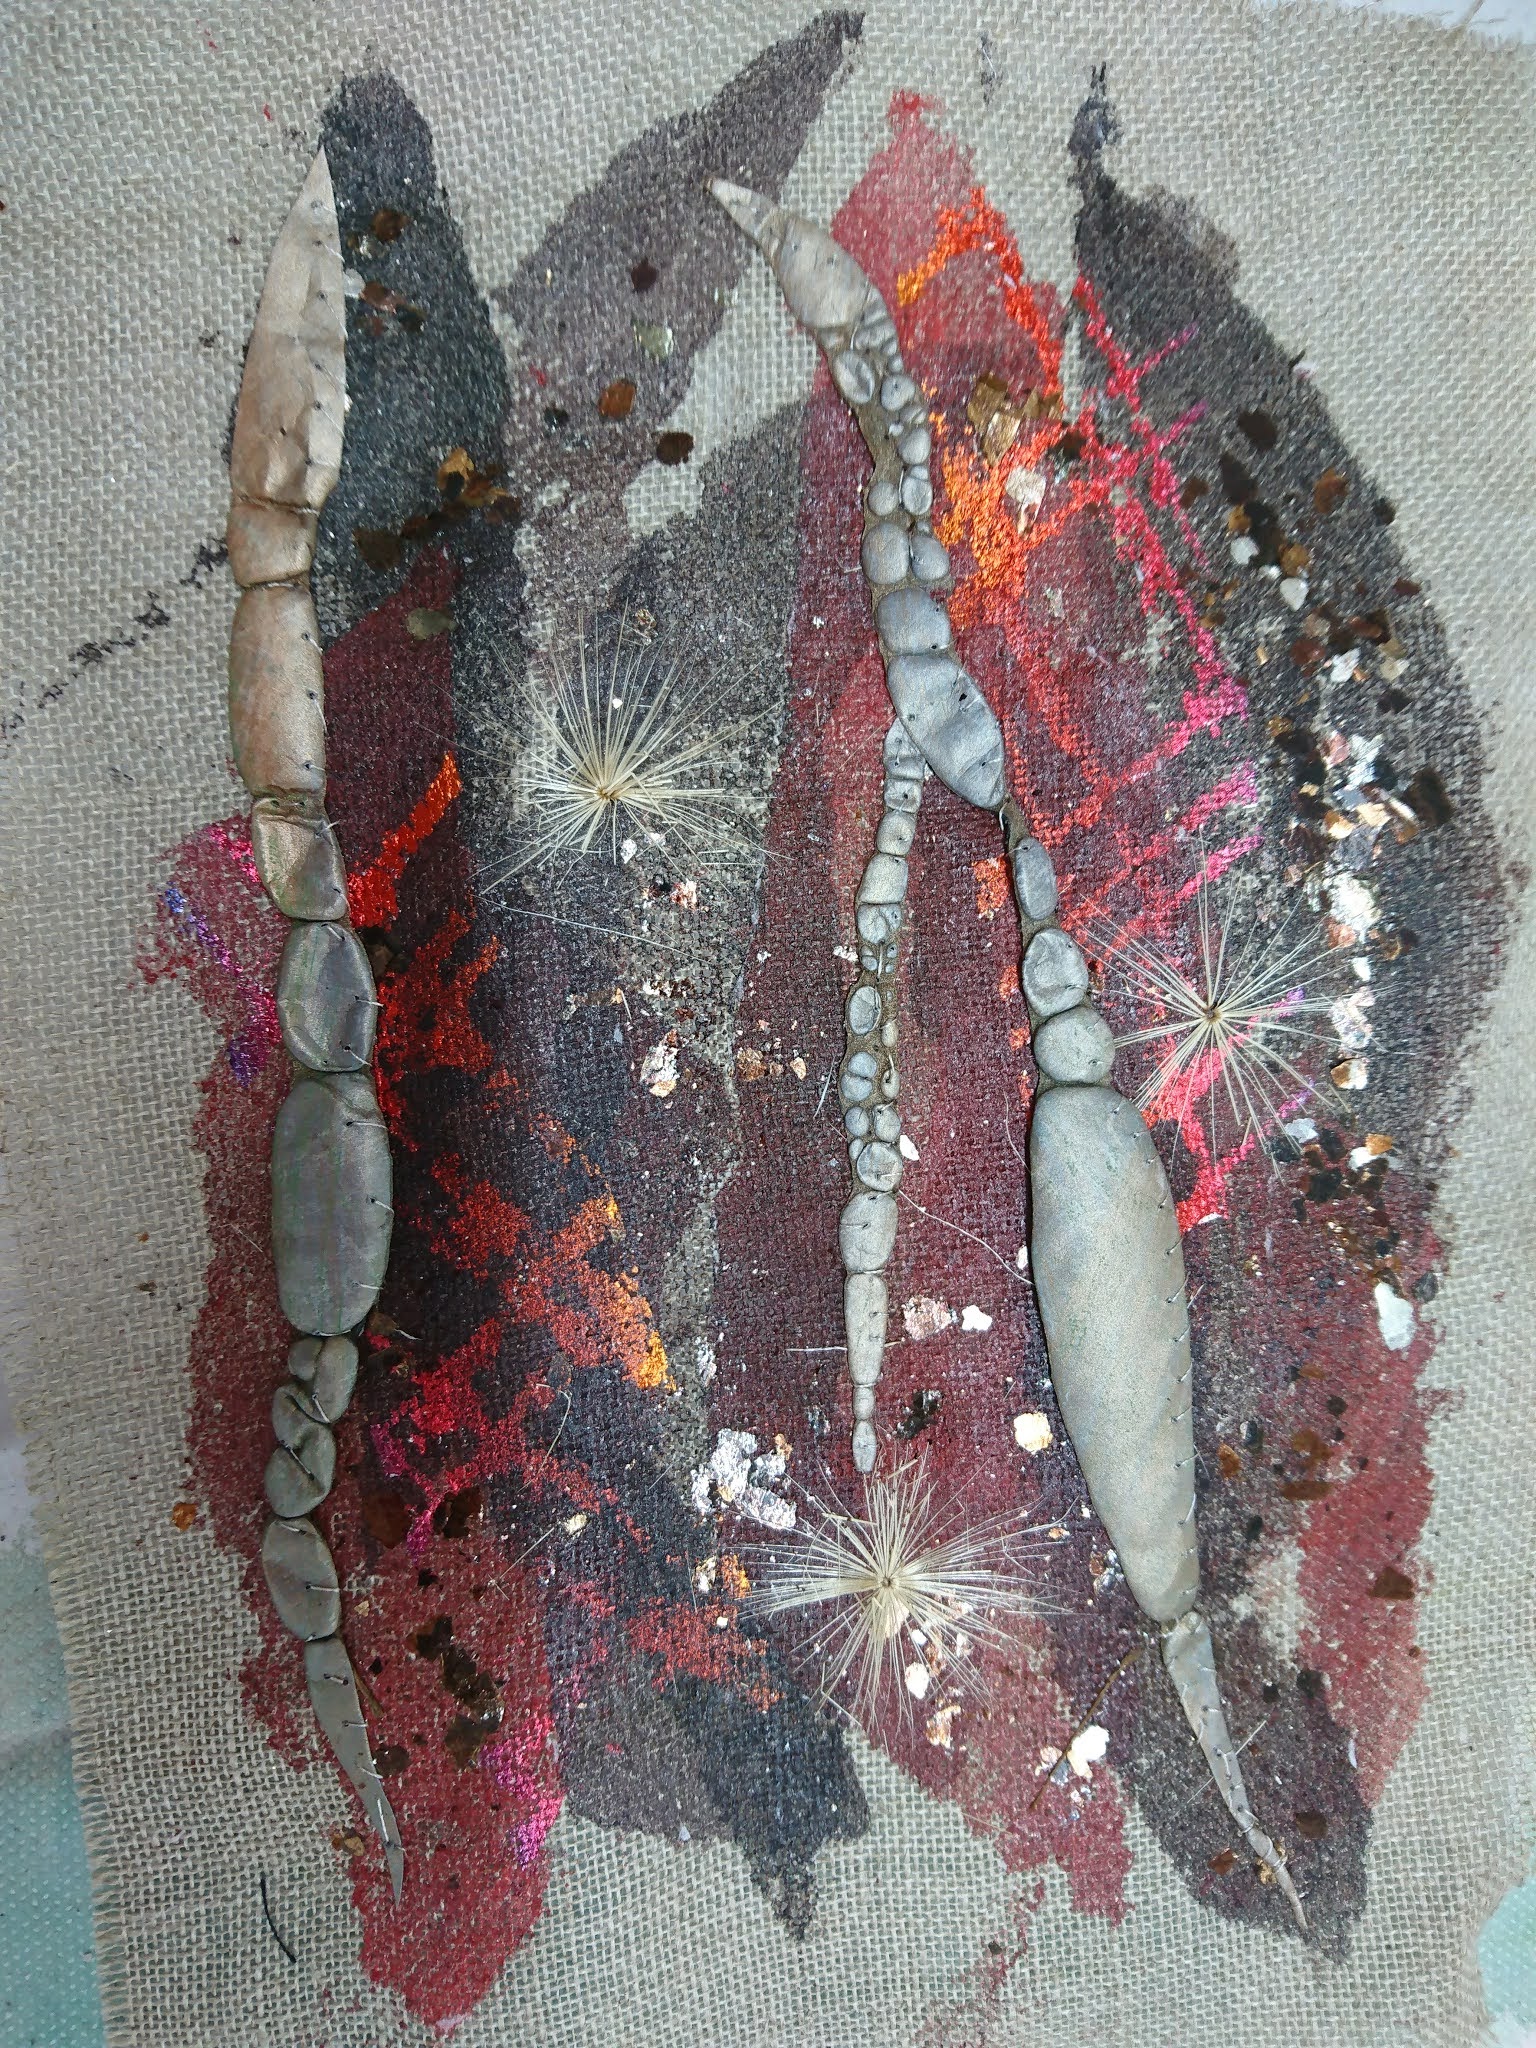
| A feather used as a resist. |
 | |||||||
| Using seed heads. | |
 |
| Flower shapes.. |
 |
| Using dried grasses |
 |
| Various leaves and flowers |
 |
| Grasss |

 |
| Me demonstrating how to use a soldering iron to cut shapes for applique. |


Because the fabrics are all printed with similar colours, the applique shapes tone in with the backgrounds. If you want more definition, then you can substitute a plain fabric for either the background or the applique.


As you can see, there were some great samples created. The workshop was long enough for the group to get a good idea of the possibilites for transfer printing. This grouo have their 2 hour Show and Tell on the 10th of April. They have 2 weeks to develop and maybe stitch into their work.
***
I ended up with waiting lists for the first 2 workshops, so I will be repeating them later in the year.
There are 4 places left on Workshop 3 and the next 2 workshops are already half full. I will be writing my newsletter next week with information about what I will be teaching for Workshop 6 and 7. If you don't already subsribe to my newsletter, and would ike to - just email me with 'mailing list' in the subject and I will add you . . .
To enrol on a workshop,
Send me an email with workshop in the subject.
info@kimthittichai.com
Let me know which workshop(s) you are interested in - 3, 4 or 5.
Along with a phone number. I will send you a PayPal invoice.
Once this is paid - you will be on the workshop and I will send you the materials list.
All workshops are in Greenwich Mean Time
Workshop 3 – Create Original Designs and Making Printing Blocks €65
Saturday 24th April 10.00 am – 4pm, 1 hour lunch 4 places left
Workshop 3 - Catch Up and Show and Tell
Saturday 8th May 10.30 – 12.30
The most important part of teaching for me, is to encourage students to
create original work. This workshop is brilliant for those of you who
want to create your own designs and then create your own printing
blocks. We will work with an inspiration of your choice. If you have
done the 'Journey' exercise with me, you could use that. The materials
list will give you some ideas if not. You should finish this class with 2
pairs of printing blocks ready to print and maybe stitch for your show
and tell.
To give you an idea of what we will be doing - have a look at this post on my blog
http://hot-textiles.blogspot.com/2017/08/teaching-at-home-in-ireland-and.html


***
Workshop 4 - Raising the Surface for Stitch €65
Friday May 28th 10am – 4pm
Workshop 4 Catch Up and Show and Tell
Friday 11th June 10.30am – 12.30pm
Working with Bondaweb and Tyvek, along with other ways to create texture, you will develop some great raised surfaces to stitch over and across. By hand or machine. We will work on layering up the samples during the workshop. You will be able to stitch and develop more samples in the 2 weeks up to the Show and Tell. Tyvek is a fabulous product for creating interesting textures, but needs to be blended into your work by using toning colours and incorporating stitch.
***
Workshop 5 –Tinkering
with Tyvek €65
Friday June 25th – 10am – 4pm
Workshop 5 - Catch Up and Show and Tell
Friday July 9th 10.30am – 12.30pm
A day of fun and experimentation with the wonderful material known as ‘TYVEK’.
(Also known as ‘fibrefilm’ & fibretex’).
We will be painting and stitching, incorporating polyester organza with this wonderful medium then heating it with various tools to create fascinating textures, bowls, vessels or sculptural forms. You will need a sewing machine for the workshop.
To give you an idea of what we will be doing - have a look at this post on my blog

***
Hello Tod!
x x x


Comments
Post a Comment